
Recently while window shopping around on Etsy, I came across some super cute child sized wooden hangers. I thought they would make great props for photographing some of my kids garments that would look better hanging instead of laid out for a flat-lay. Then I thought it would be great to add an extra detail to them using my logo.
When I originally purchased the hangers I messaged the seller to make sure they were unfinished wood so I could have them printed. Unfortunately, once I received them I found out they were not unfinished and my original plans fell through. So it was time to come up with a plan B.
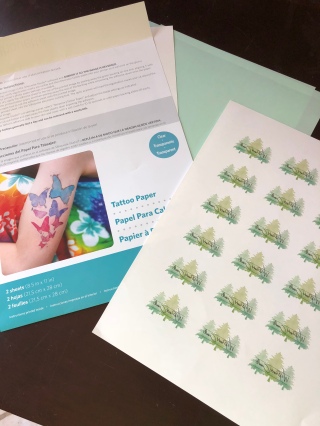
I had seen people use temporary tattoos to add embellishments to plates or cups and then seal them to make them last. I decided if it worked for that it’d be worth a shot to try them with my hangers. So I ordered some of this print at home temporary tattoo paper from Amazon. It is intended to use with a Silhouette cutting machine (which I do not have), but it worked with the printer I have so I went for it.
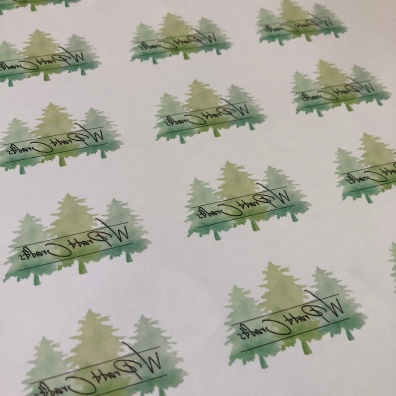
To get the most out of the two sheets that come in the pack I created a Word document with as many logos as would fit based on the sizing I was looking for. It’s important that you print your images mirrored so that after you apply them the wording or image faces the proper way. If your image doesn’t include words or can be reversed then you can skip that step.
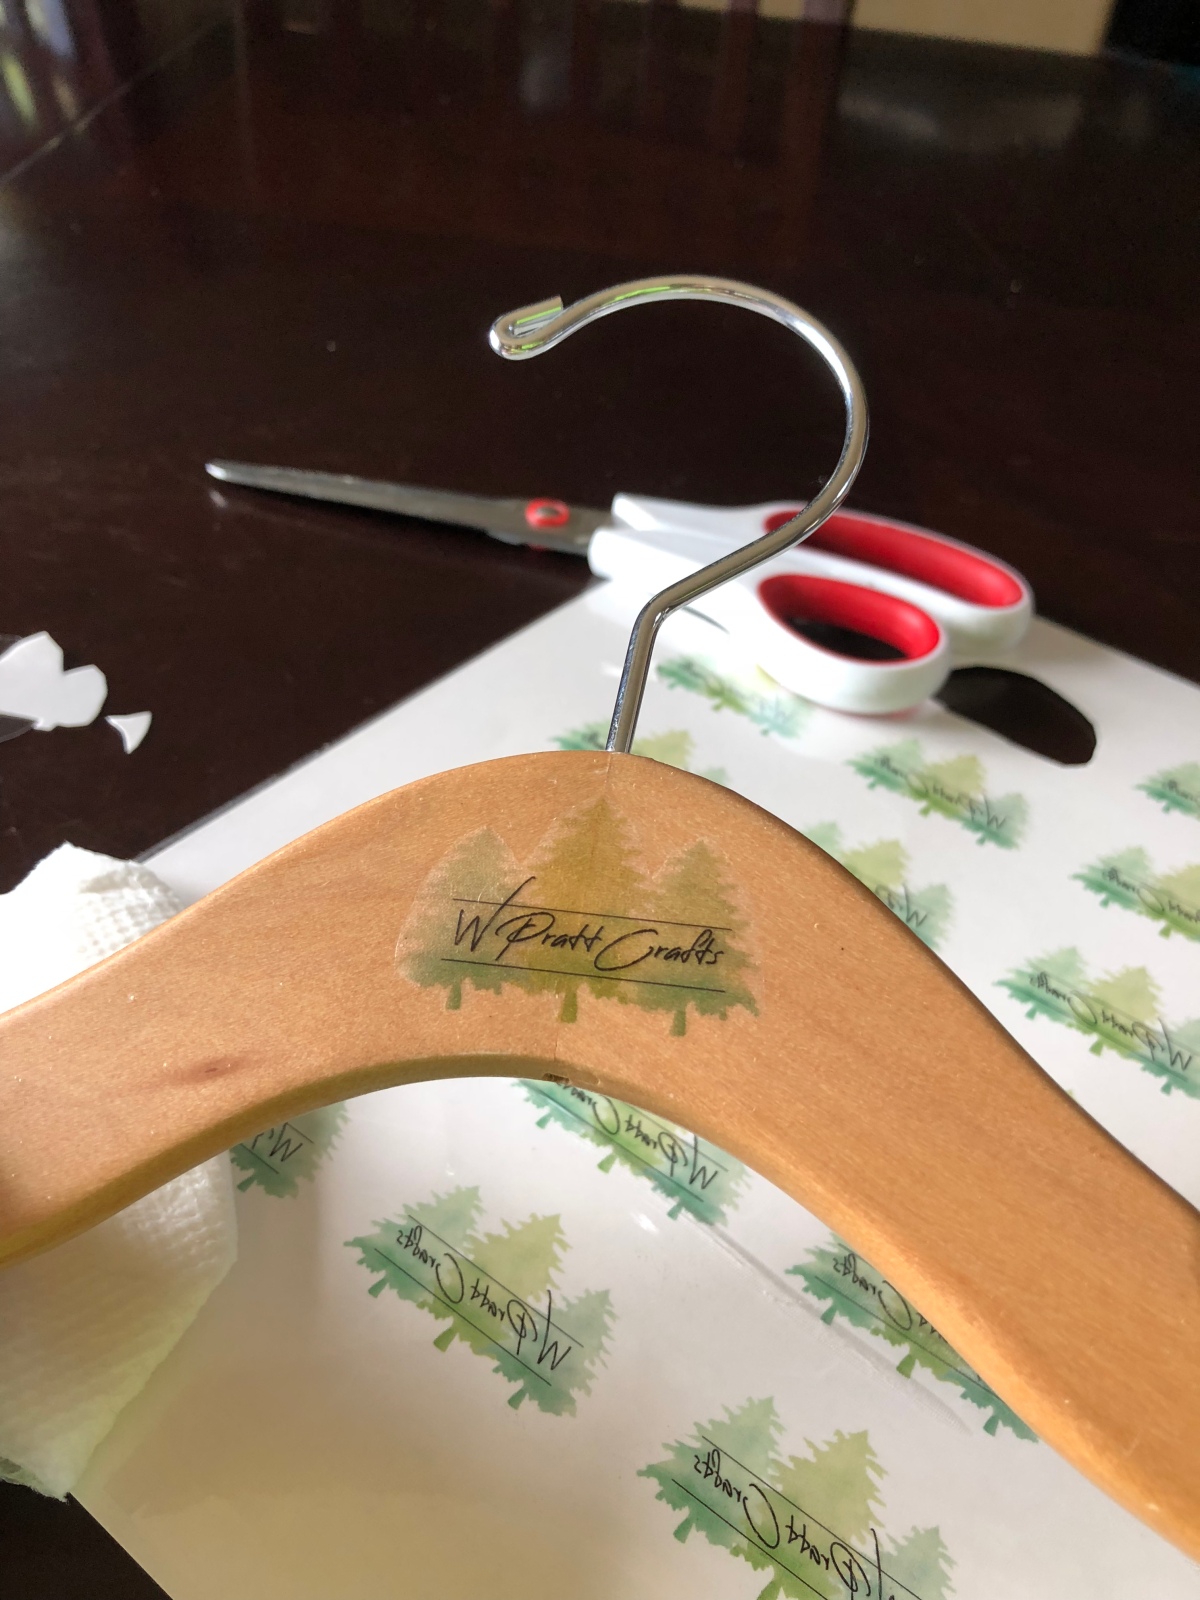
Next, I cut around an individual logo and applied it directly to the hanger per the instructions. This is where a cutting machine would come in handy, but I was able to manage without just fine using my scissors. There is a small halo of film around my image based on how I cut them. If you have a Silhouette you may be able to avoid some of this halo by allowing the machine to cut out the images more precisely. But I’m happy with the overall effect I was able to achieve with them.


Once I find my sealing spray I’ll be giving them a quick coat to protect my images. I can’t wait to start putting these little guys to use! If you decide to try this out I would love to hear how it went for you in the comments below.


Thanks for reading, and until next time, happy crafting!
Wendy
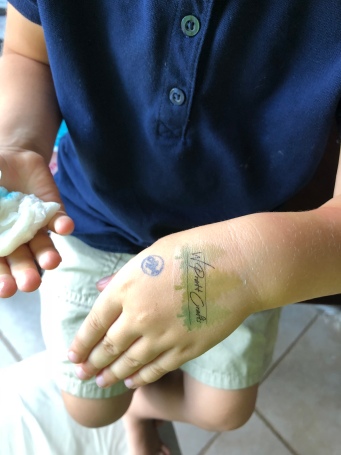
P.S. Kids love temporary tattoos, even if it’s one of your mom’s logo…

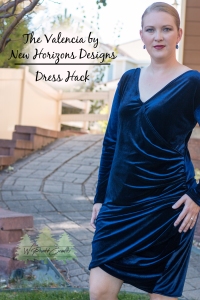


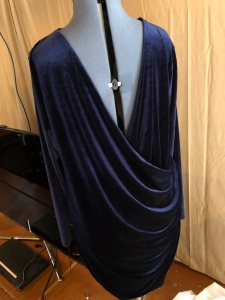
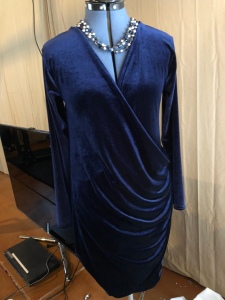 In a moment of curiosity I flipped the dress around and had the crossover in the front… then bam! It was love. Now that the orientation was set, I decided I wanted the top of the dress to be a little more fitted. So I pinned the seams to my desired fit, then I messed with the gathers a little to make sure they all fell the way I wanted. Finally I was able to sew up my side seams and put the finishing touches on this piece.
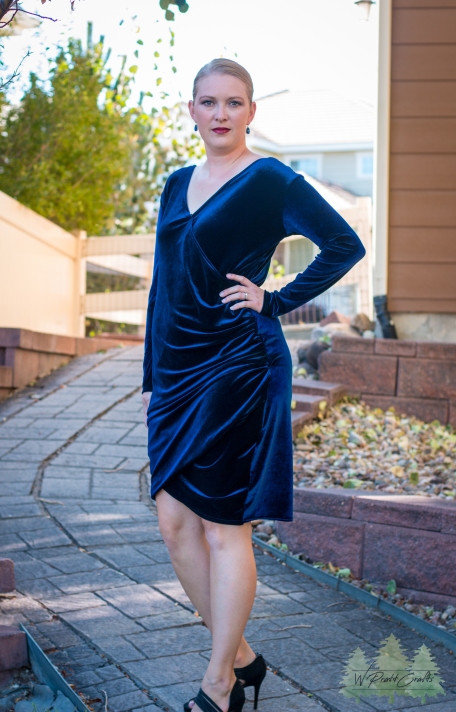 I’m all set and ready for date night!
")
")
")
