Today we pick up where we left of from The Making of a Party Shirt (Part 1).
Step 4: Prepare the sleeves before attaching them to the shirt body: attaching the placket.
Before attaching the sleeves to the shirt body, you will reattach the placket. Many times you will be able to remove the placket and keep the button in place, but you may find it easier to sew if you remove the button and replace it after the placket is sewn down. There are a few types of plackets so this is where any photos you took while disassembling will come in handy.
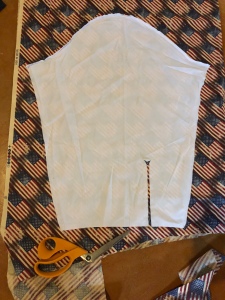
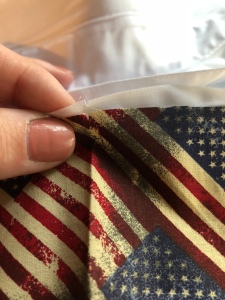
To reattach my plackets, I first cut out a Y shape in my new fabric based on the original sleeves.

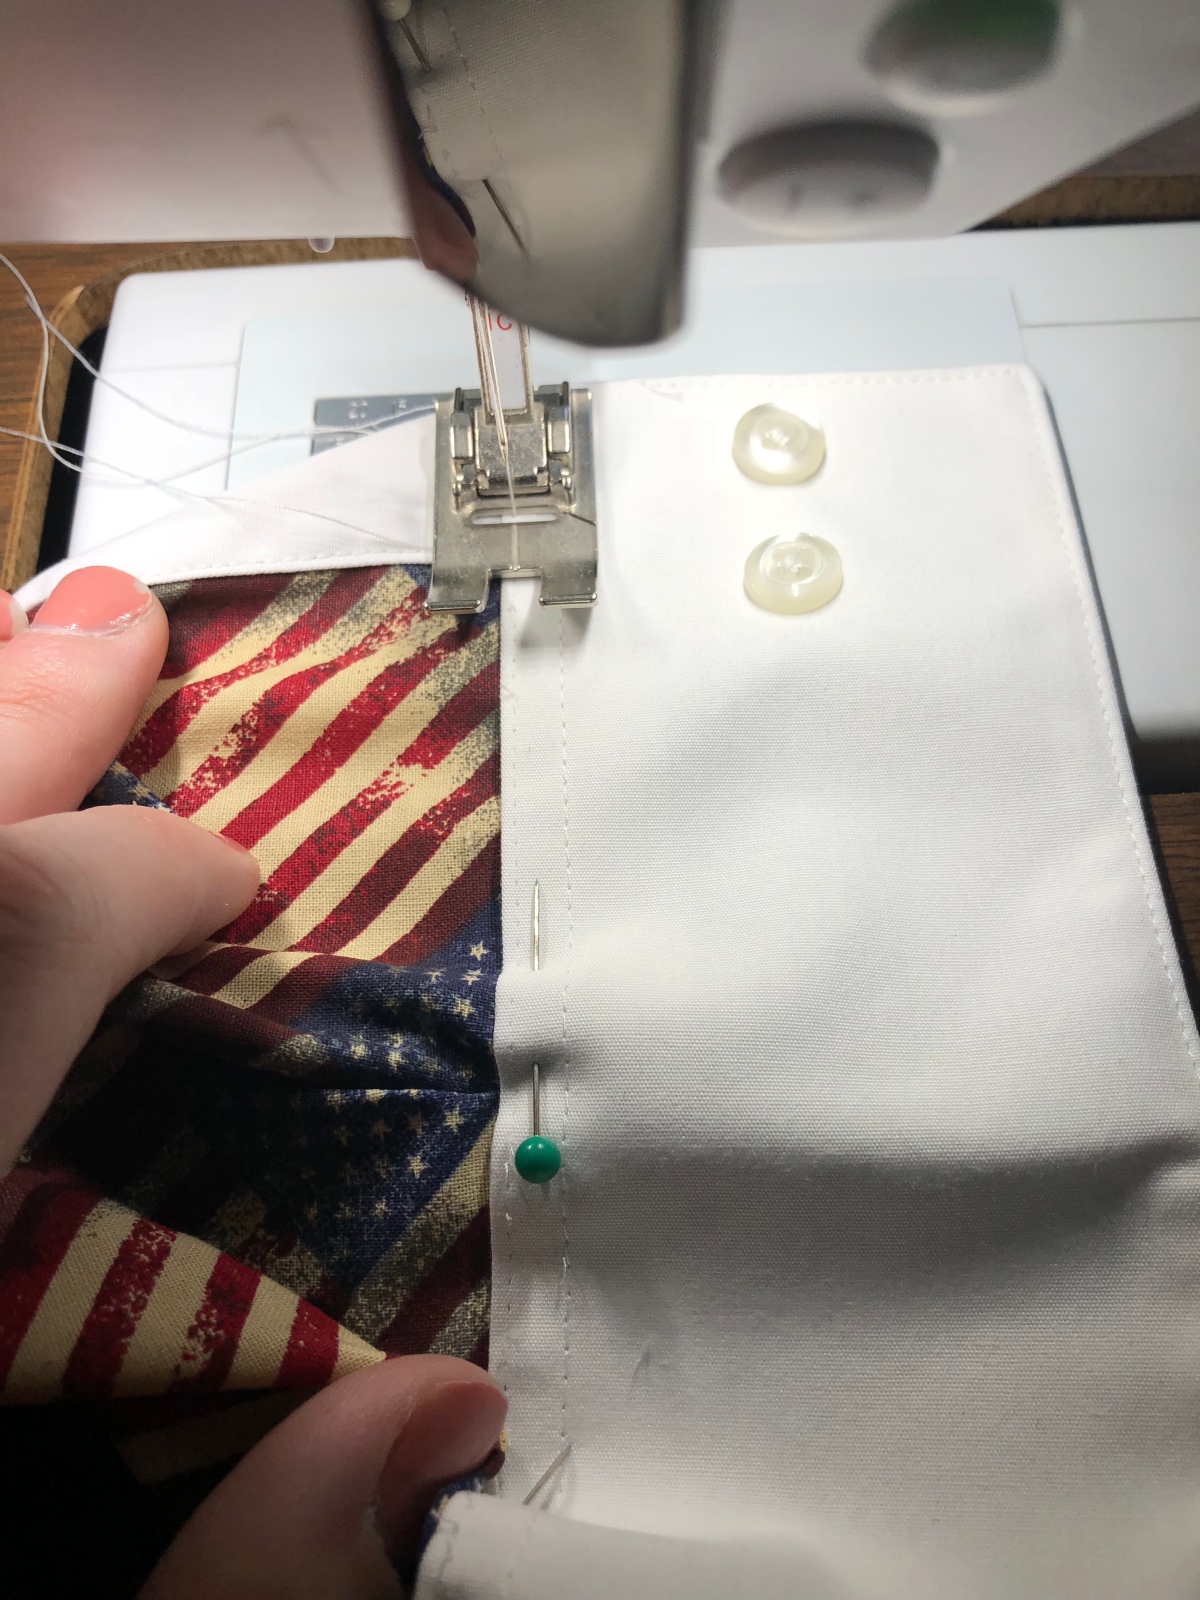
Then I take the placket and sandwich my new fabric between the placket layers. The Y shape allows me to pull the fabric into a straight line and line it up with the placket. Pins will be your friend in this step, especially around the top of the Y shape, to ensure that you catch enough of the new fabric between the placket.
It’s also important to be sure the center of the fabric (the triangle wedge you see on the right) is lined up in the center of the placket where it naturally wants to fold to its original shape. Once you have the placket pinned into place, topstitch it down following the original seam holes or as close to the edge as you can, while ensuring you’ve caught all layers.
After the placket is attached, follow the original creases and fold the placket into shape. Pin in place, then topstitch the fold down following the original markings.
Repeat for the opposite sleeve, then they are ready to attach to the shirt.
Step 5: Attaching the sleeve to the shirt body.
Making sure the right sleeve is attached to the right side, pin the shirt sleeve to the main body, easing in the shoulder area as needed. I use a 3/8″ seam allowance and then finish my seam with a serger. You can also use a zig zag stitch to finish the seam to keep the edges neat. Finally, I topstitch along the outside of the seam to help the seam lie flat when worn by pressing the seam allowance towards the shirt body. Repeat for opposite side.
Step 6: Sew up the side seams.
After the sleeves are attached, sew the shirt front and back and shirt sleeves along the sides. As before, after stitching them together, finish your seams with your method of choice (e.g. serger or zig zag stitching).
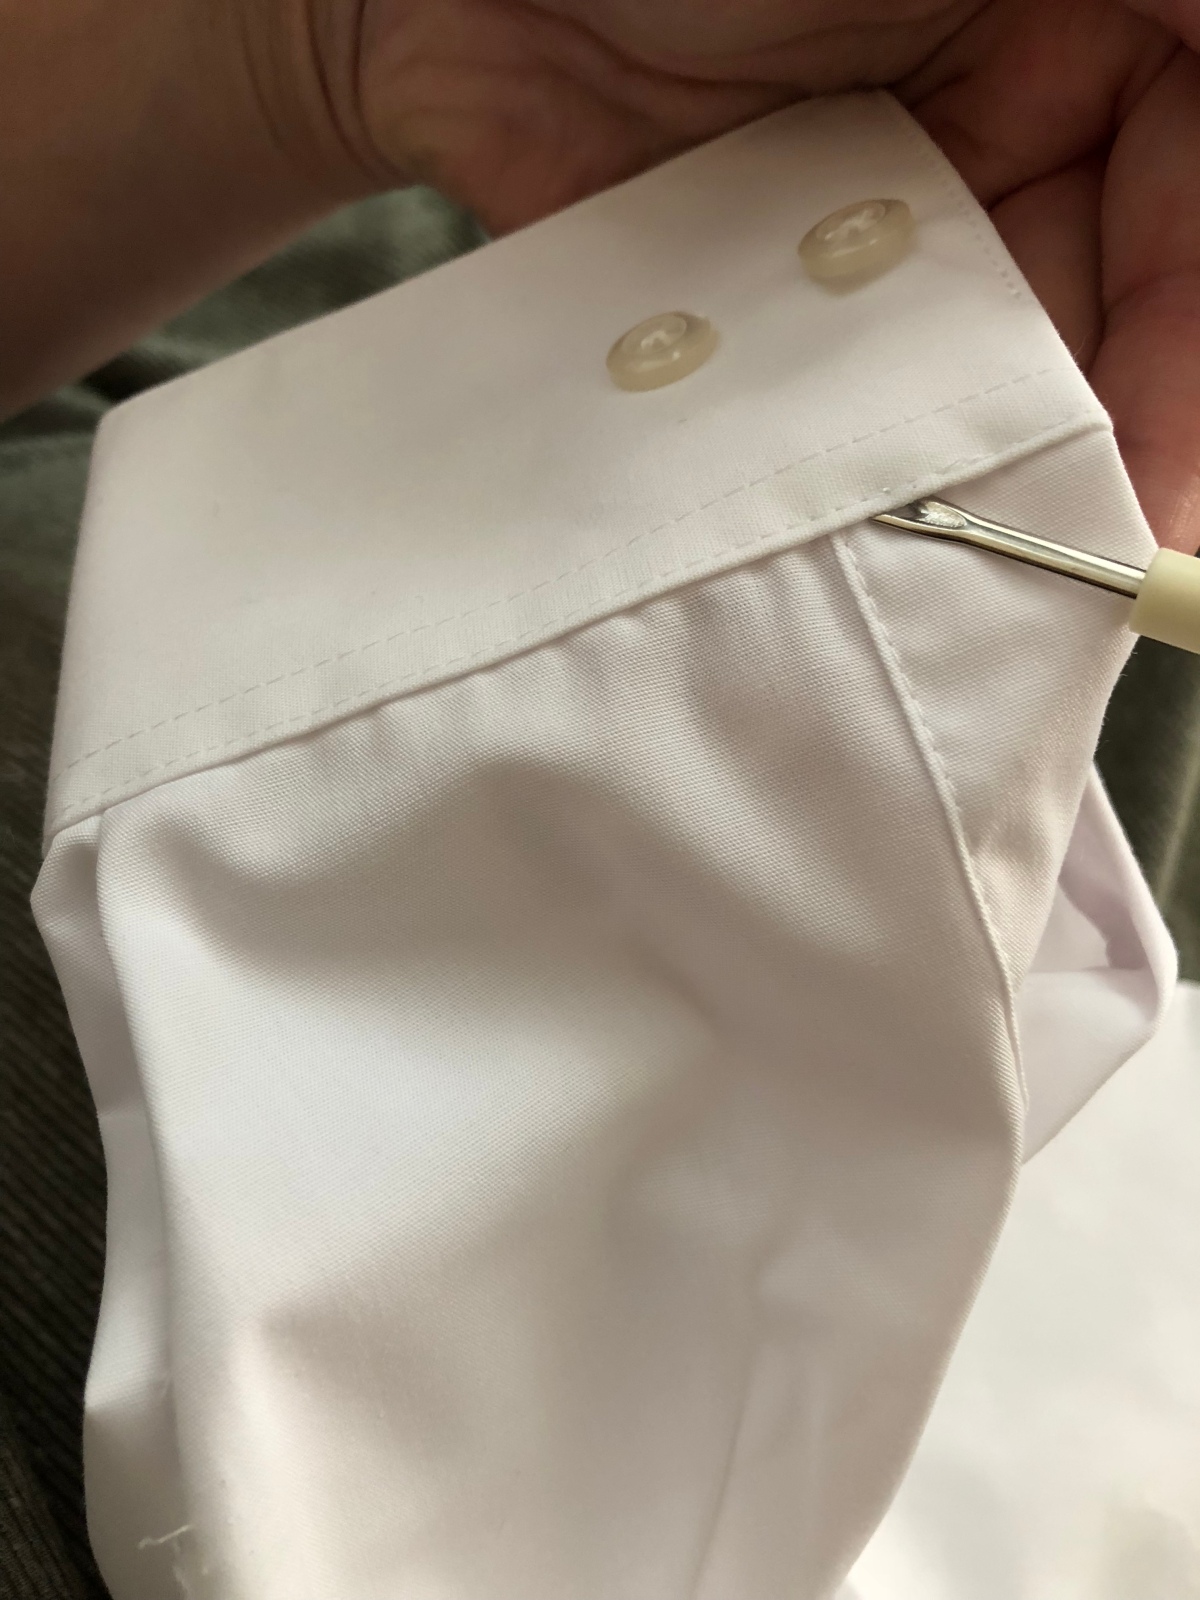
Step 7: Attach the cuffs.
Most sleeves will have a number of pleats at the cuff to help fit the fullness of the sleeve into the cuff. Use the original sleeves to mark out where your pleats should be in your new sleeves. Press the pleats and pin in place.
After the pleats are set, place the edge of the sleeve between the layers of the cuff. **Note: you may need to adjust your pleats slightly to fit your cuff.
When the cuff is in place and the pleats are set, topstitch the cuff into place making sure to back stitch at the beginning and the end of the cuff to secure it into place.
Step 8: Hem the shirt.
This is where the optional rolled hem foot comes in handy. Most dress shirts that I have found use a rolled hem along the bottom. If you aren’t familiar with a rolled foot, check out my previous post on how to use one here. If you do not have a rolled hem foot, you can make a narrow hem by folding the fabric over 1/4″, two times and stitching into place.
Here is how I use the rolled hem foot for my shirts.
Begin by using the existing fold from the original shirt front to begin your roll. Feed the rolling fabric into the sewing foot. Once the fabric is in place, put your foot down and begin stitching, guiding the fabric as you go. The foot should fold up the fabric for you, creating an even hem along the bottom.
After you’ve stitched the length of the hem and you are close to the original shirt hem, stop, place your needle down to hold the fabric into place, then remove the fabric from the foot. Place your foot back down, then finish off the hem, going slightly into the original hem to secure the ends.
If you find that not all of your fabric edges get caught in your rolled hem, especially at the beginning or the end, use a little fray check to seal the edges.
And that’s it! You’ve made a party shirt!
As usual, thanks for reading along, and please let me know if you have any questions or comments below.
Until next time, happy crafting!
Wendy